For the last few years, I been doing development by writing code, deploying it to the server, running stuff on the server without any GUI, and then downloading anything that I want to visualize. This has been a huge pain! We work with images and having that many steps between code debugging and visualizing things is stupidly inefficient, but sorting out a better way of doing things just hadn't boiled up to the top of my priority list. But I've been crazy jealous of the awesome things Hong has been able to do with jupyter notebooks that run on the server, but which he can operate through the browser on his local machine. So I asked him for a bit of help getting up and running so that I could work on lilou from my laptop and it turns out it's crazy easy to get up and running!
I figured I would detail the (short) set of steps in case other folk's would benefit from this -- although maybe all you cool kids already know about running iPython and think I'm nuts for having been working entirely without a GUI for the last few years... 🙂
On the server:
- Install anaconda:
Get the link for the appropriate anaconda version
On the server run wget [link to the download]
sh downloaded_file.sh
- Install jupyter notebook:
pip install —user jupyter
Note: I first had to run pip install —user ipython (there was a python version conflict that I had to resolve before I could install jupyter)
- Generate a jupyter notebook config file:jupyter notebook --generate-config
- In the python terminal, run:
from notebook.auth import passwd
passwd()
This will prompt you to enter a password for the notebook, and then output the sha1 hashed version of the password. Copy this down somewhere.
- Edit the config file (~/.jupyter/jupyter_notebook_config.py):
Paste the sha1 hashed password into line 276:
c.NotebookApp.password = u'sha1:xxxxxxxxxxxxxx'
- Run “jupyter notebook” to start serving the notebook
Then to access this notebook locally:
- Open up the ssh tunnel:ssh -L 8000:localhost:8888 username@lilou.seas.gwu.edu
- In your local browser, go to localhost:8000
- Enter the password you created for your notebook on the server in step 4 above
- Create iPython notebooks and start running stuff!
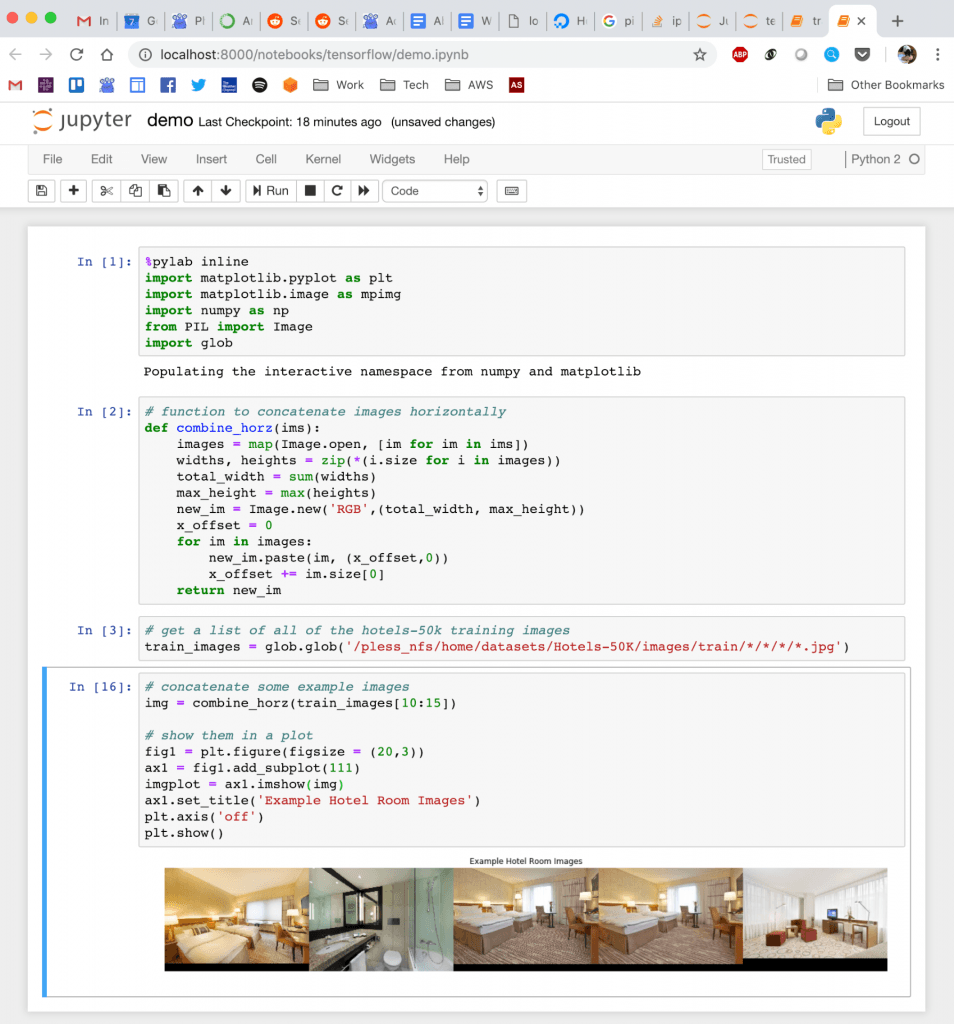
Quick demo of what this looks like:
